
All The Lip Tips
Lip blush is an art and in depth knowledge is a must to perform any procedure. We’re answering our top four most commonly asked lip blush questions below.
The Pre-Draw
The first step to any lip blush procedure is the pre-draw which defines the outline to ensure symmetry. So where do you start?
Always begin by analyzing your client’s original lip. Look at components such as:
Tone evenness
-
Vermillion border contour
-
Texture
-
Proportions of the shape
-
Symmetry
-
Presence of scars, fordyce spots, etc
Other important factors to consider:
-
Always design on clear skin using a white or nude colored pencil for additional clarity
-
Your outline should not be more than 1 mm away from the actual vermilion border and the lower lip should either be equal or slightly larger than the upper lip
-
Nervous to start? Hone your skills on a practice pad first.
Some design tips:
-
Cupid's bow can range from deep to small arch (see image for example!)
-
Lateral slide lip can be designed three ways (see picture for clarity):
-
Straight: Classic
-
Concave: Effect of smile
-
Convex: Light Volume
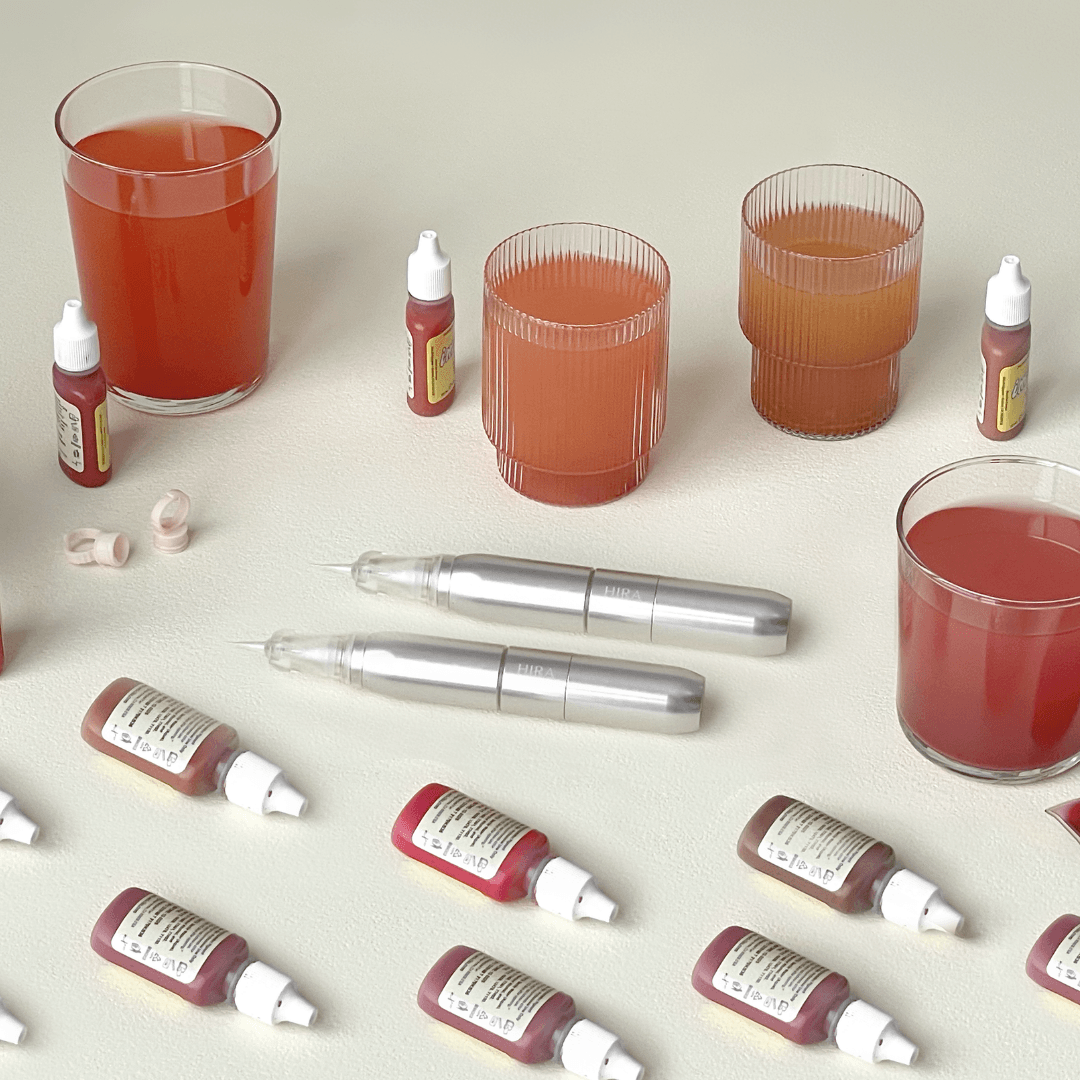
The Technique
A permanent makeup lip blush procedure is where a PMU artist “paints” the entire lip area for a natural but tinted look. Lips will have color (with some transparency) and be neatly outlined but contour-less.
There are many techniques to accomplish desired looks but here is a breakdown of one technique:
-
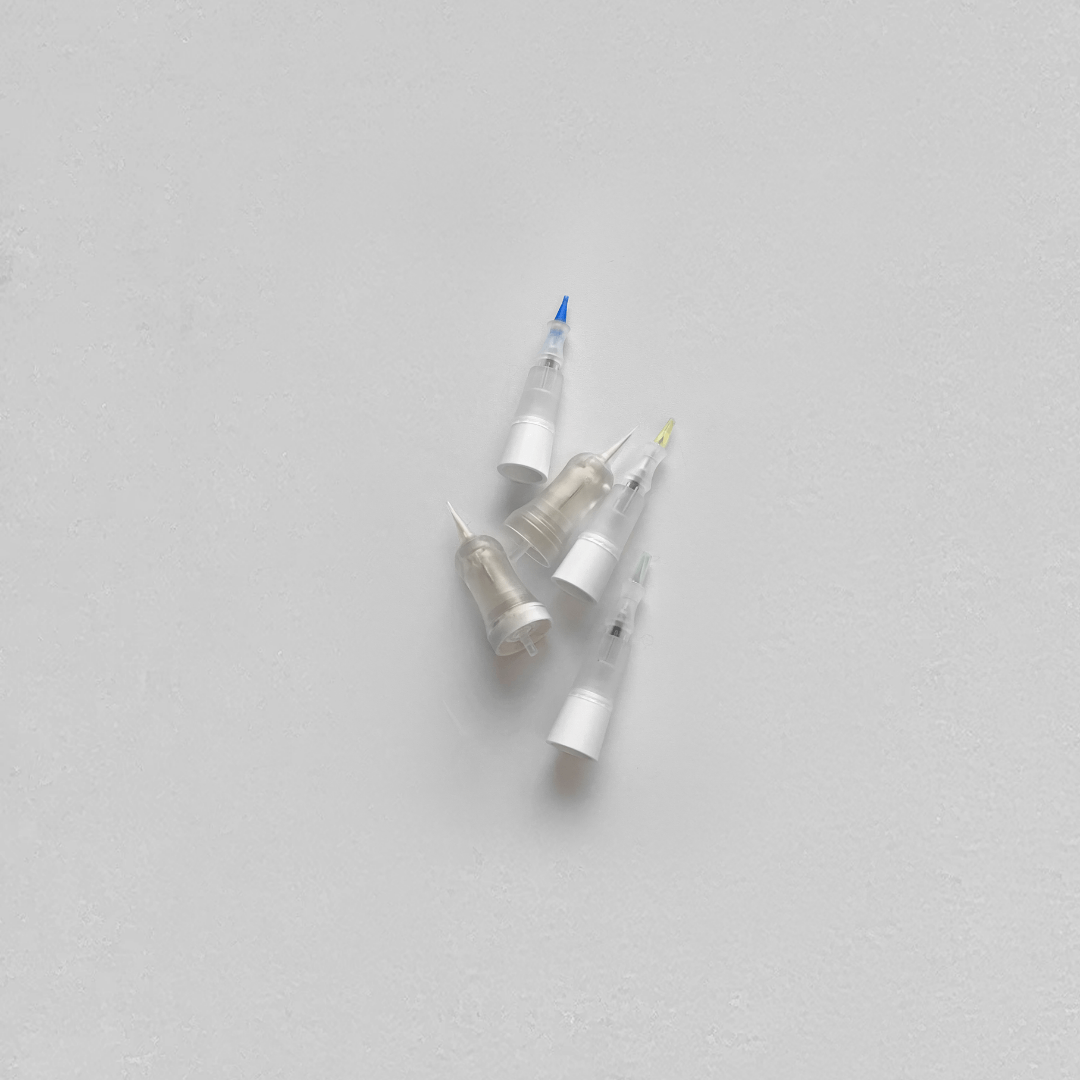
Using the tip of a 1L needle, begin a “back and forth”shading technique to outline the entire lip slowly, starting from the bottom lip. Use lighter pressure near corners of the lips and take your time as it is important to only go over the line once. The suggested speed is 160.
-
Next, starting from the top lip begin shading the entire lip using a medium pressure. You will go section by section by overlapping 80% of the previous section when moving onto the next one (each section will be gone over approximately four times). Make sure to use shorter strokes in the middle sections and check the depth, movement, stretch, and pressure as you work.
Tip:
The number of passes will depend on the pressure applied, texture of client’s skin, and the desired result. Throughout the procedure, anesthetic can be applied several times depending on the client's tolerance to pain.
Lip Blush Aftercare
We all know that how your client takes care of their lips post procedure influences healed results, which is why we always recommend having a very clearly defined aftercare regimen. Create multiple expectation discussion touch points with your client such as pre and post procedure as well as an acknowledgement form on their intake paperwork.
So what should you include in an aftercare outline? Here are some important factors and steps to consider:
-
Lips may bruise post-procedure but it should go away within a few hours
-
First two weeks post procedure:
-
Clean & remove the lymph fluid from the surface of the skin as it helps avoid heavy scabbing.
-
Keep the lips moisturized at all times with Aquaphor, A&D ointment, Grapeseed Oil, etc. No vaseline, antibiotic creams or neosporin should be used.
-
Avoid water and makeup on or around the area
-
Refrain from excessive sweating, saunas, pools or sunbathing
-
Do not pick the flaking or scabs as it may cause scarring.
-
During month one post procedure avoid any product that contains acids or ingredients that will lighten or exfoliate the skin
-
Touch Ups are best done 6-8 weeks after initial procedure, however, allow extra time for those that take longer to heal such as mature clients.
Dark Lip Neutralization
Dark lip neutralization is for any who has dark or cool lips or hyperpigmentation within the lip area. During the procedure, a PMU artist first balances the dark tones before enhancing to the desired lip color.
So how is it done?
The first step is to identify the natural lip color. Next, dark tones are neutralized using a customized blend of pigments. For example, using a peach shade (mix of yellow and red) to achieve a pinkish healed result. During a touchup appointment, the lip color can be boosted to the desired color.
The less is more approach should be used at all stages of correction treatment. We recommend using complimentary colors with a shading technique to build up the color gradually.
Some clients will not be a good fit for dark lip neutralization such as those who have excessive hyperpigmentation. We recommend artists find a high quality trainer to educate themselves on dark lip neutralization prior to performing this procedure.
What other lip blush questions do you have for us? Let us know in the comments!
Read more
Read on to learn more about needles, pigments, anesthetics and essentials most commonly used for lip blush procedures.
Depth, Diameter, Taper - there’s SO many terms and things to know when choosing the right permanent makeup procedure. We’re outlining our three most commonly asked questions below.
Leave a comment
This site is protected by reCAPTCHA and the Google Privacy Policy and Terms of Service apply.